Friday, December 12, 2008

How to select the masking tape used in painting to produce neater edges


Masking tape has a wide variety of uses and it is manufactured with different degrees of stickiness for different jobs. The degree of stickiness is called the tack level.

There are many categories of tape. Some of these are:
Low tack tape, which is used on delicate surfaces. Too much tack will damage the surface, pulling off paint and even plaster upon removal. Low tack tape usually gives clean removal for up to 24 hours.
General purpose tape. This can used on multiple surfaces. It usually gives clean removal for up to 30 hours.
Lacquer tape. This tape is highly adhesive. It is designed specifically for use with lacquer coatings. It works for rough surfaces such as stucco, concrete and wood. It can be cleanly removed for up to three days
Professional finish tape, which can used on multiple surfaces. It usually gives clean removal for up to 14 days.
Some tapes are also different because they are built specially to cover curved and uneven surfaces. If you can get that tape, it will help you cover a curve more easily. 3M’s scotch tape does this.

Manufacturers, by brand, include Duck, 3M, Scapa, Faithfull, Toolstation and Ultratape. You can also get non-branded tapes. Tapes can be bought at the hardware or over the Internet.
Read the label of the tape. The label will usually state whether the tape is for use on multiple surfaces or only on a specific type of surface. It will also state how long you can get clean removal for, with that type of tape.


Buy at Art.com
Summer Home Surrounded by Fall Colors...
Buy From Art.com


For optimum results:
Select the right type of tape.
Paint away from the tape, rather than towards it.
Keep in mind that all tapes have an optimum period for removal. After that time it will not lift from the surface as easily.

Remember, in summary, for painting clean edges you want a tape that will
Be removed cleanly.
Be removed without carrying some of the surface with it.

Get to it!


You may also like these articles:

Things to do in Osaka Japan in the Summer
Japanese Samurai Culture Lives on Through the Arts
Tall Ikebana Designs and Full Moon Ikebana Containers

Tips for neat lines in home painting


Lines are used in a room for many different things. They exist between the ceiling and the wall, at corners, border electrical sockets and form some faux finishes. Horizontal lines make surfaces appear larger than they are and can be used on walls to create a seemingly bigger space.

As with everything else, the tool chosen for the job can make a difference in the end result.
Low tack masking tape (this has less glue and is less likely to tear off paint upon removal) is helpful, if applied at the edges of surfaces that you want protected from your paint job- but be careful when using it. Paint actually can leak under the edges. Using it doesn’t give the painter license to paint without paying attention to detail!

A small brush is handy tool when you want to do corners or fill in distinct areas. By small, I mean three-quarter inch to one and a half inches.
There are certain brushes that have the bristles cut at an angle. These are good to have for going around borders.
You can buy an ordinary brush and make an angled brush yourself by cutting the bristles to an angle as recommended.

A good synthetic brush will work well with the thicker paints that we usually use in the home. The bristles are stiffer, so that gives more control when handling the heavy paint.
Don’t put a lot of paint on the brush at any one time. Put just enough to make the portion of line you want with a single stroke.
When painting the edge of a wall, start in one corner. Gradually go down the edge of the wall.
For very wide lines, use a level to draw your lines, then paint.


Buy at Art.com
Japanese Flower Arranging (Ikebana) a...
Buy From Art.com


Practise using the different brushes. Your skill will increase and the finish of your work will improve.
Have fun!

You may also like these articles:

Things to do in Osaka Japan in the Summer
Japanese Samurai Culture Lives on Through the Arts
Tall Ikebana Designs and Full Moon Ikebana Containers

Friday, November 14, 2008

Creating designs on leather with an embossing wheel


Leather is defined as the dressed hide of an animal. Some leather is softer than others, depending on the animal of origin. For example, the hide of a deer will produce soft leather.

Leather embossing involves allowing the leather to stretch so that it can hold a mark and leaves a three-dimensional image, of a letter for example, on the leather.


Buy at Art.com
Young Dassanech Girl Wears a Leather ...
Buy From Art.com


The type of leather that is usually used for embossing is known as “veg tan” or vegetable tanned leather. You can get the leather you want to work with from a tannery.
The yellow pages of your local phone directory should help you to find a local tannery. However, if you choose to, there are companies on the Internet that also sell various kinds of leather. Individuals will sell leather on Ebay.

The embossing wheel is one of the tools used for creating designs on leather. Tools used for creating designs on leather are usually made of metal. They may be bought on the internet-from companies that specialize in producing those tools, at craft stores, or they may be bought from companies that supply leather or leather products.

Leather should be heavily moistened when you are about to begin embossing. This will allow a stiff design to form when the leather dries. Choose a wheel that has on the pattern you desire and attach it to the wheel carriage.

While gripping the handle firmly, roll the wheel on the “wrong” side of the leather, at the point where you want the design to appear. When the leather dries, the design will be raised on the right side.

If the metal is heated, it changes the color of the leather. It also allows for a deeper impression to be created in the leather. Leather craft is an art and work produced today will be enjoyed for years to come!

You may also like these articles:

Things to do in Osaka Japan in the Summer
Japanese Samurai Culture Lives on Through the Arts
Tall Ikebana Designs and Full Moon Ikebana Containers

Wednesday, October 29, 2008

Making nails beautiful with artistic nail designs

Beautiful nails can be created in many ways. One can step from a basic nail job to a French manicure, or decorate with rhinestones stickers, glitter, or with patterns created by using round steel stencils.


Buy at Art.com
Red Nails
Buy From Art.com


If you or your manicurist has good drawing skills, a unique design may also be painted on by hand. If you are going to paint by hand you will need such tools as a liner brush, a small one.
After you paint on the basic nail color, give it some time to dry. Then, you can begin painting.

Paint the wider spaces on your design in basic, even strokes with the liner brush. For thin curved or straight lines use a striper brush. The type of brush you use will match the thickness of the line or space you want to paint.

Nail art pens allow you to create art that looks like an air brushed design. One particular brand has a brush on one end and a drawing tip on the other end.

Your nails make a great painting surface and you carry the art everywhere.


You may also like these articles by this author:
You may also like:
Tenniel caterpillar illustration
Art restoration Da Vinci
Ernst Ludwig Kirchner prints
Albrecht Durer four horsemen artwork

Monday, October 27, 2008

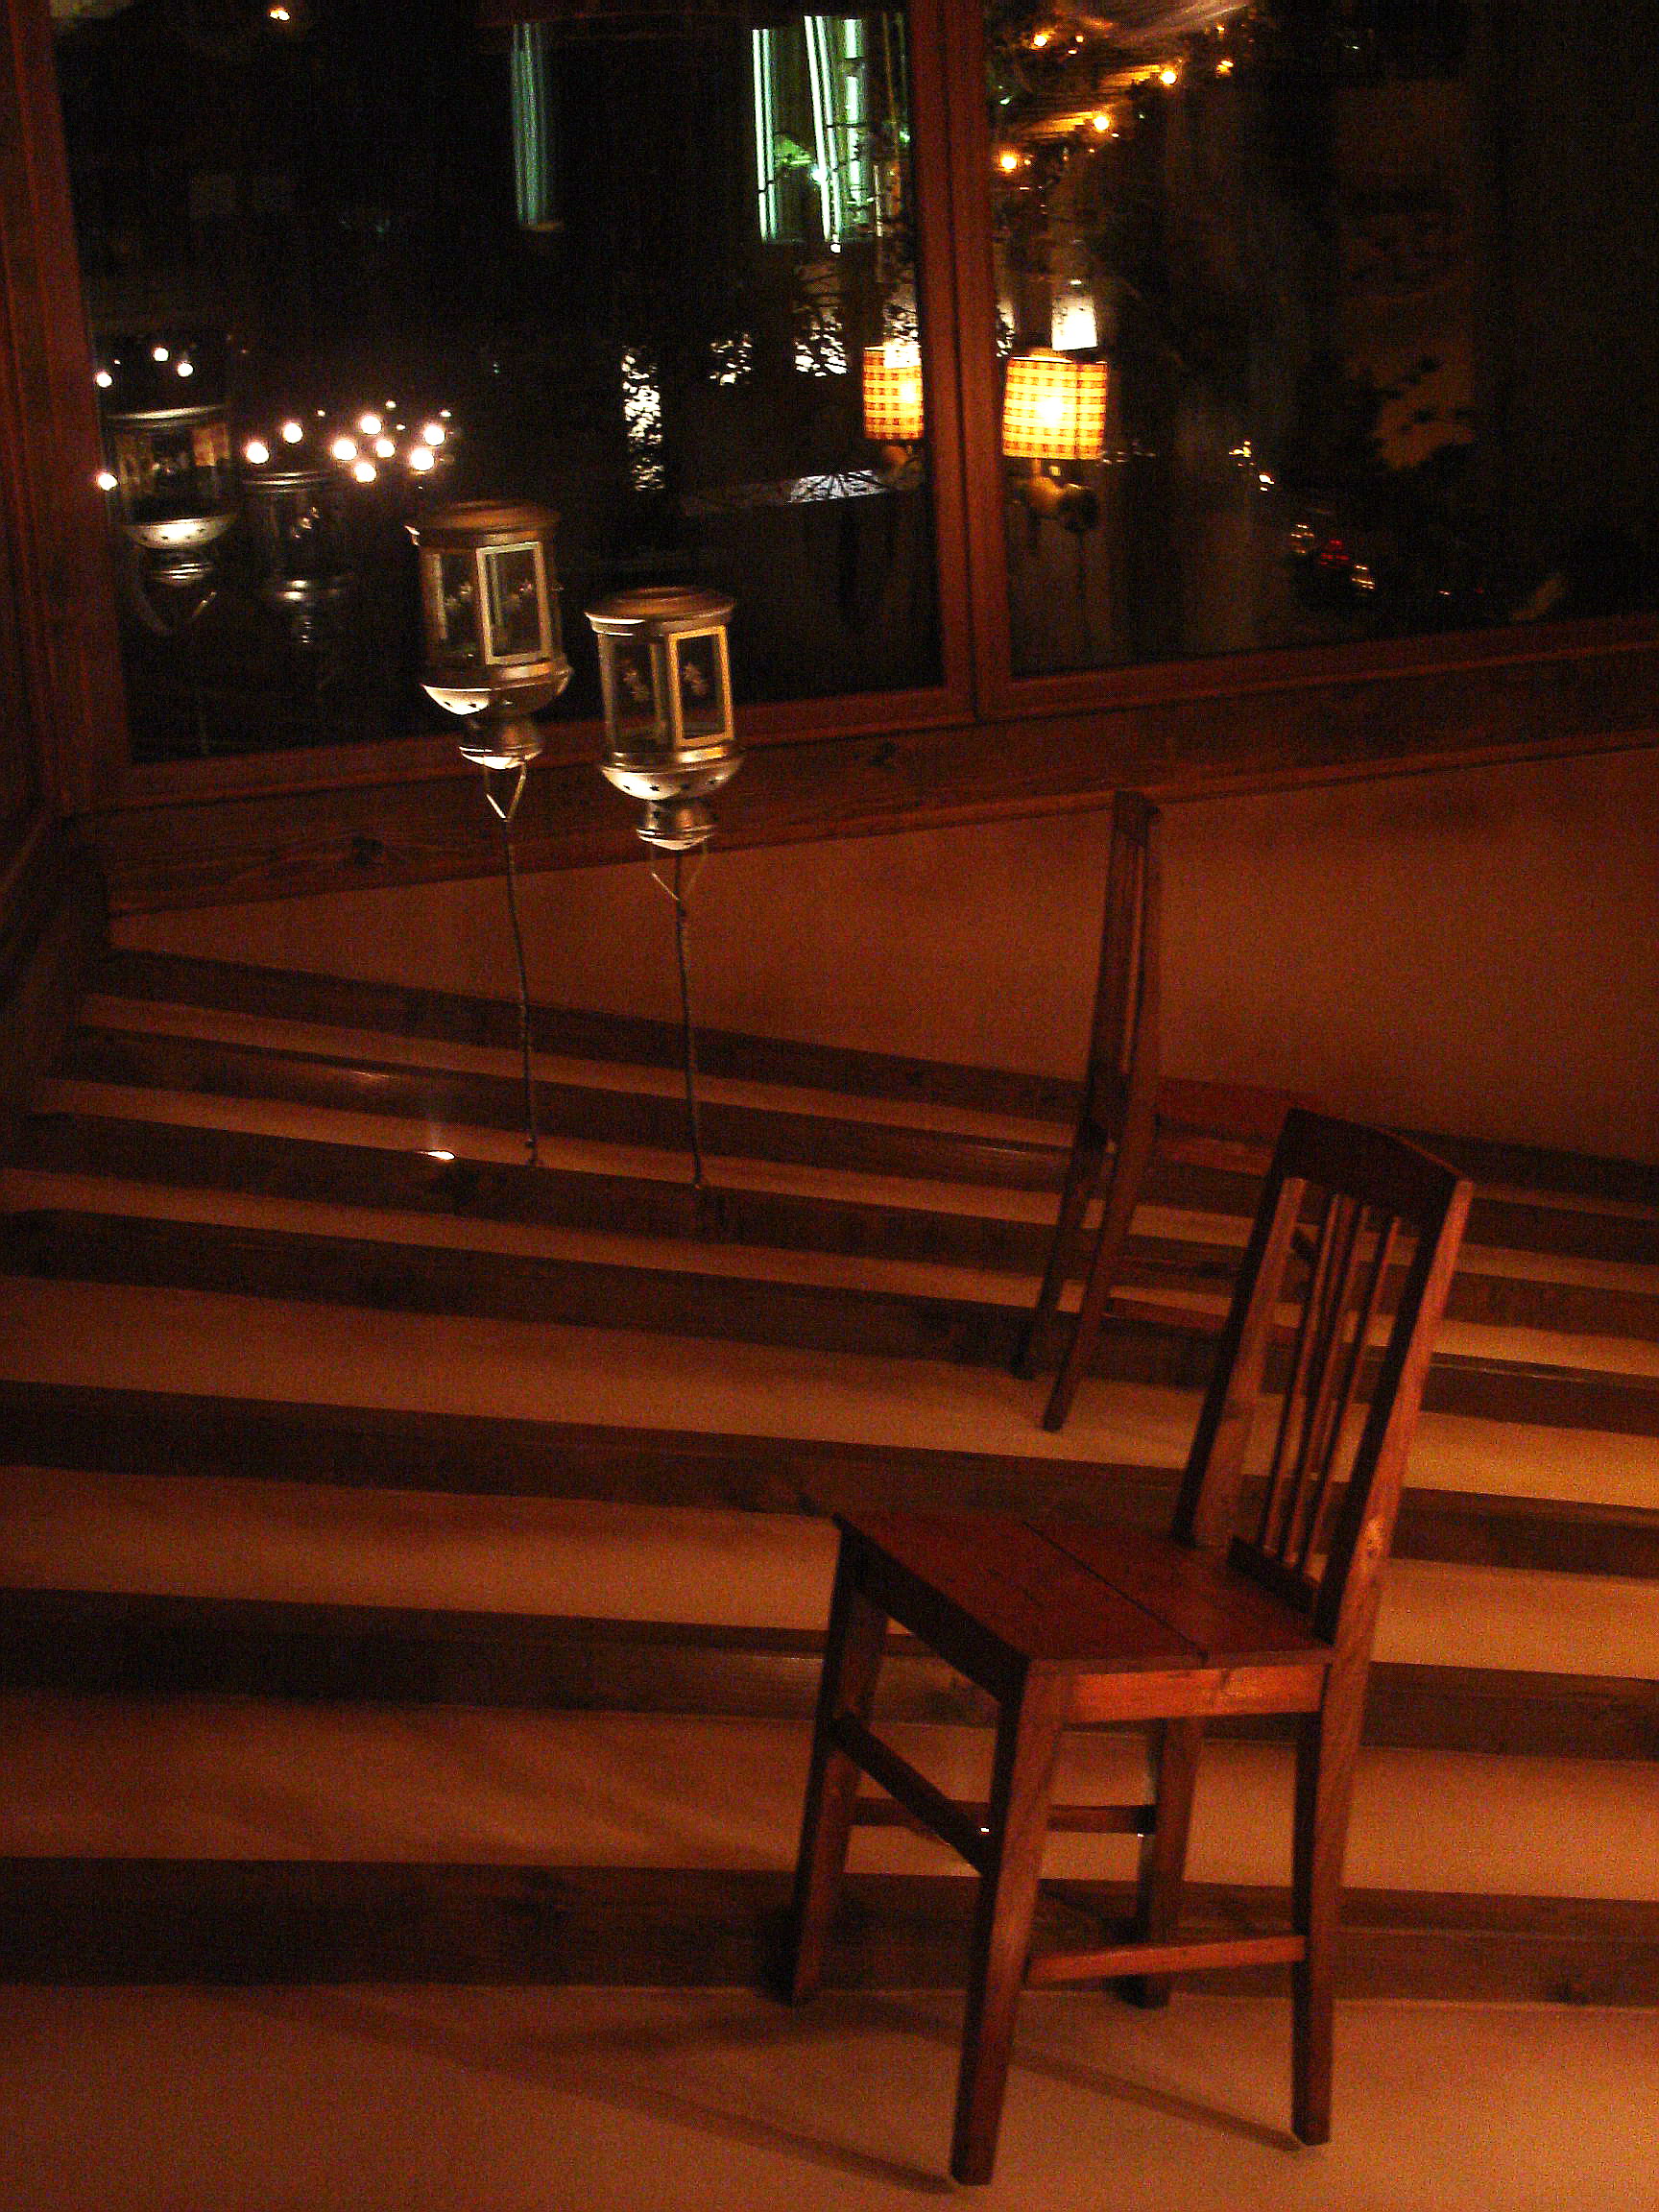
wood stain-applying to a wooden chair


How to Stain a Wooden Chair

Many of us may have an old wooden chair-perhaps in the kitchen or in our workspace-that we would like to give a new look. Any wooden article can be changed in appearance by staining it.

A stain is a mix of a solvent, pigment and a binding agent. A stain gives protection to wood and also enhances the grain of the wood. Stains are easy to use.
Stains come in many different traditional and contemporary colors. Imagine your chair with a protective covering the shade of green tea, honey dew or English oak!

The color you use will affect the look of the room your chair is placed in. If you use a dark color, it will make your room feel more clustered, whereas a lighter color will give more of an appearance of space to the room.


Buy at Art.com
Empty Beach Chairs at Sunset, Denis I...
Buy From Art.com


Projects like this are best done outside, so the dust and fumes from the chemicals you will be working with don’t make you, or your family members ill.

Remove any old varnish or layer of protection on the chair’s surface. If you don’t, the new stain will not adhere properly to the surface. You can do this with sandpaper. Make sure you wipe the surfaces of the chair clean of the dust left over from sanding.

Test the color at a spot on the chair that is inconspicuous, so that if it is not exactly what you imagined, you can make corrections or adjustments.
Mix the stain well to make sure the pigment is evenly distributed throughout.
Apply the stain using a synthetic bristle brush or a soft rag. If you have gloves use them. Your hands will be protected.

You may also like:
Tenniel caterpillar illustration
Art restoration Da Vinci
Ernst Ludwig Kirchner prints
Albrecht Durer four horsemen artwork

Knowing art-what is art


Can art be defined?
Can people sit together and decide what art is and is not?

People's values and choices rarely intersect and sometimes, an individual's defintion of what art is, runs far from what is regular or established.


Buy at Art.com
An Antique Map Provides the Backdrop ...
Buy From Art.com


I believe art will be found in many different places.

You may also like these articles by this author:
History of Ceramics: The Pottery Wheel
Ghibli Studios: Creating Animated castles in the Sky
Loreal Models 2011
Review: The Borrower Arrietty Download